This course is based upon the international best-seller book, ‘Breaking India’ by Shri Rajiv Malhotra.
This Course provides a detailed history of Sati in India. Sati is one of the most controversial…


Indic Knowledge System is a collective quest of a very wide range of themes by Indians. Since the dawn of our civilization, Indians have been inquisitive and engaged in open-minded enquiry of issues ranging from numbers, language, planets, matter to mind, health, ecology and so on. Their quest took them from the minutest particles to the grand scheme of cosmos; from consciousness to matter; from music to language; from pragmatic issues to the ultimate reality.
Indians proposed the holistic nature of knowledge where disciplines knew no boundaries. Such a comprehensive quest for a vast knowledge system has no parallel in the history of humankind. It emphasizes the interconnectedness of various fields of study and seeks to comprehend the ultimate nature of reality. It investigates the nature of the self, the universe, and their relationship to one another and acknowledges the existence of a higher consciousness. The Vedas, the Upanishads, and other sacred texts act as the groundwork of this framework, giving experiences into mysticism and morality; opening up the way to self-exploration.
Furthermore, the Indic Knowledge System places a strong emphasis on observation, contemplation, and personal experience as a means of acquiring knowledge, with the guru-disciple tradition playing a crucial role in transmitting wisdom from generation to generation.

CIS organises several academic events across the year to promote Indic Knowledge Systems and spread awareness about Indic civilization. These events include conferences, discussions, talks, workshops and practical demonstrations by eminent scholars and artists. We invite scholars and researchers from different parts of India and abroad with expertise in various domains of Indic Knowledge System.
These events offer a unique opportunity for young seekers to meet and interact with some of the finest Indic scholars.

We at the Centre for Indic Studies believe that promoting and preserving Indic civilizational consciousness is a collective duty and everyone who contributes towards fulfilling this duty deserves our support and acknowledgement. Hence, we would like for you to check out the following websites and show support to various individuals and institutions who are contributing in their own unique ways towards serving and strengthening the cause of Sanatana Dharma.
This course is based upon the international best-seller book, ‘Breaking India’ by Shri Rajiv Malhotra. This course discusses the ‘Breaking India Forces’ that are currently working to undermine the social, political, cultural and civilizational integrity of India. The ultimate goal of these ‘Breaking India Forces’ is to break India into many pieces. These forces are not just political.

This course discusses the knowledge traditions of India and how India has always been a knowledge society. It discusses what the place of India is in the knowledge traditions of the world; how India is an oral tradition unlike most other knowledge traditions of the world; how India is a continuous, comprehensive, cumulative knowledge tradition; and how India exported knowledge to various parts of the world throughout its history.

This course provides an in-depth introduction to Hinduism, one of the largest religions in the world, and the largest surviving pagan-polytheistic tradition, followed by over a billion people. The influence of Hinduism on the world is deeper than it seems at first look. Enriched with a profound pluralistic view, Hinduism emphasizes that the Truth is One but has many paths.

Indic Knowledge System is a collective quest of a very wide range of themes by Indians. Since the dawn of our civilization, Indians have been inquisitive and engaged in open-minded enquiry of issues ranging from numbers, language, planets, matter to mind, health, ecology and so on. Their quest took them from the minutest particles to the grand scheme of cosmos; from consciousness to matter; from music to language; from pragmatic issues to the ultimate reality.
CIS organises several academic events across the year to promote Indic Knowledge Systems and spread awareness about Indic civilization. These events include conferences, discussions, talks, workshops and practical demonstrations by eminent scholars and artists. We invite scholars and researchers from different parts of India and abroad with expertise in various domains of Indic Knowledge System.

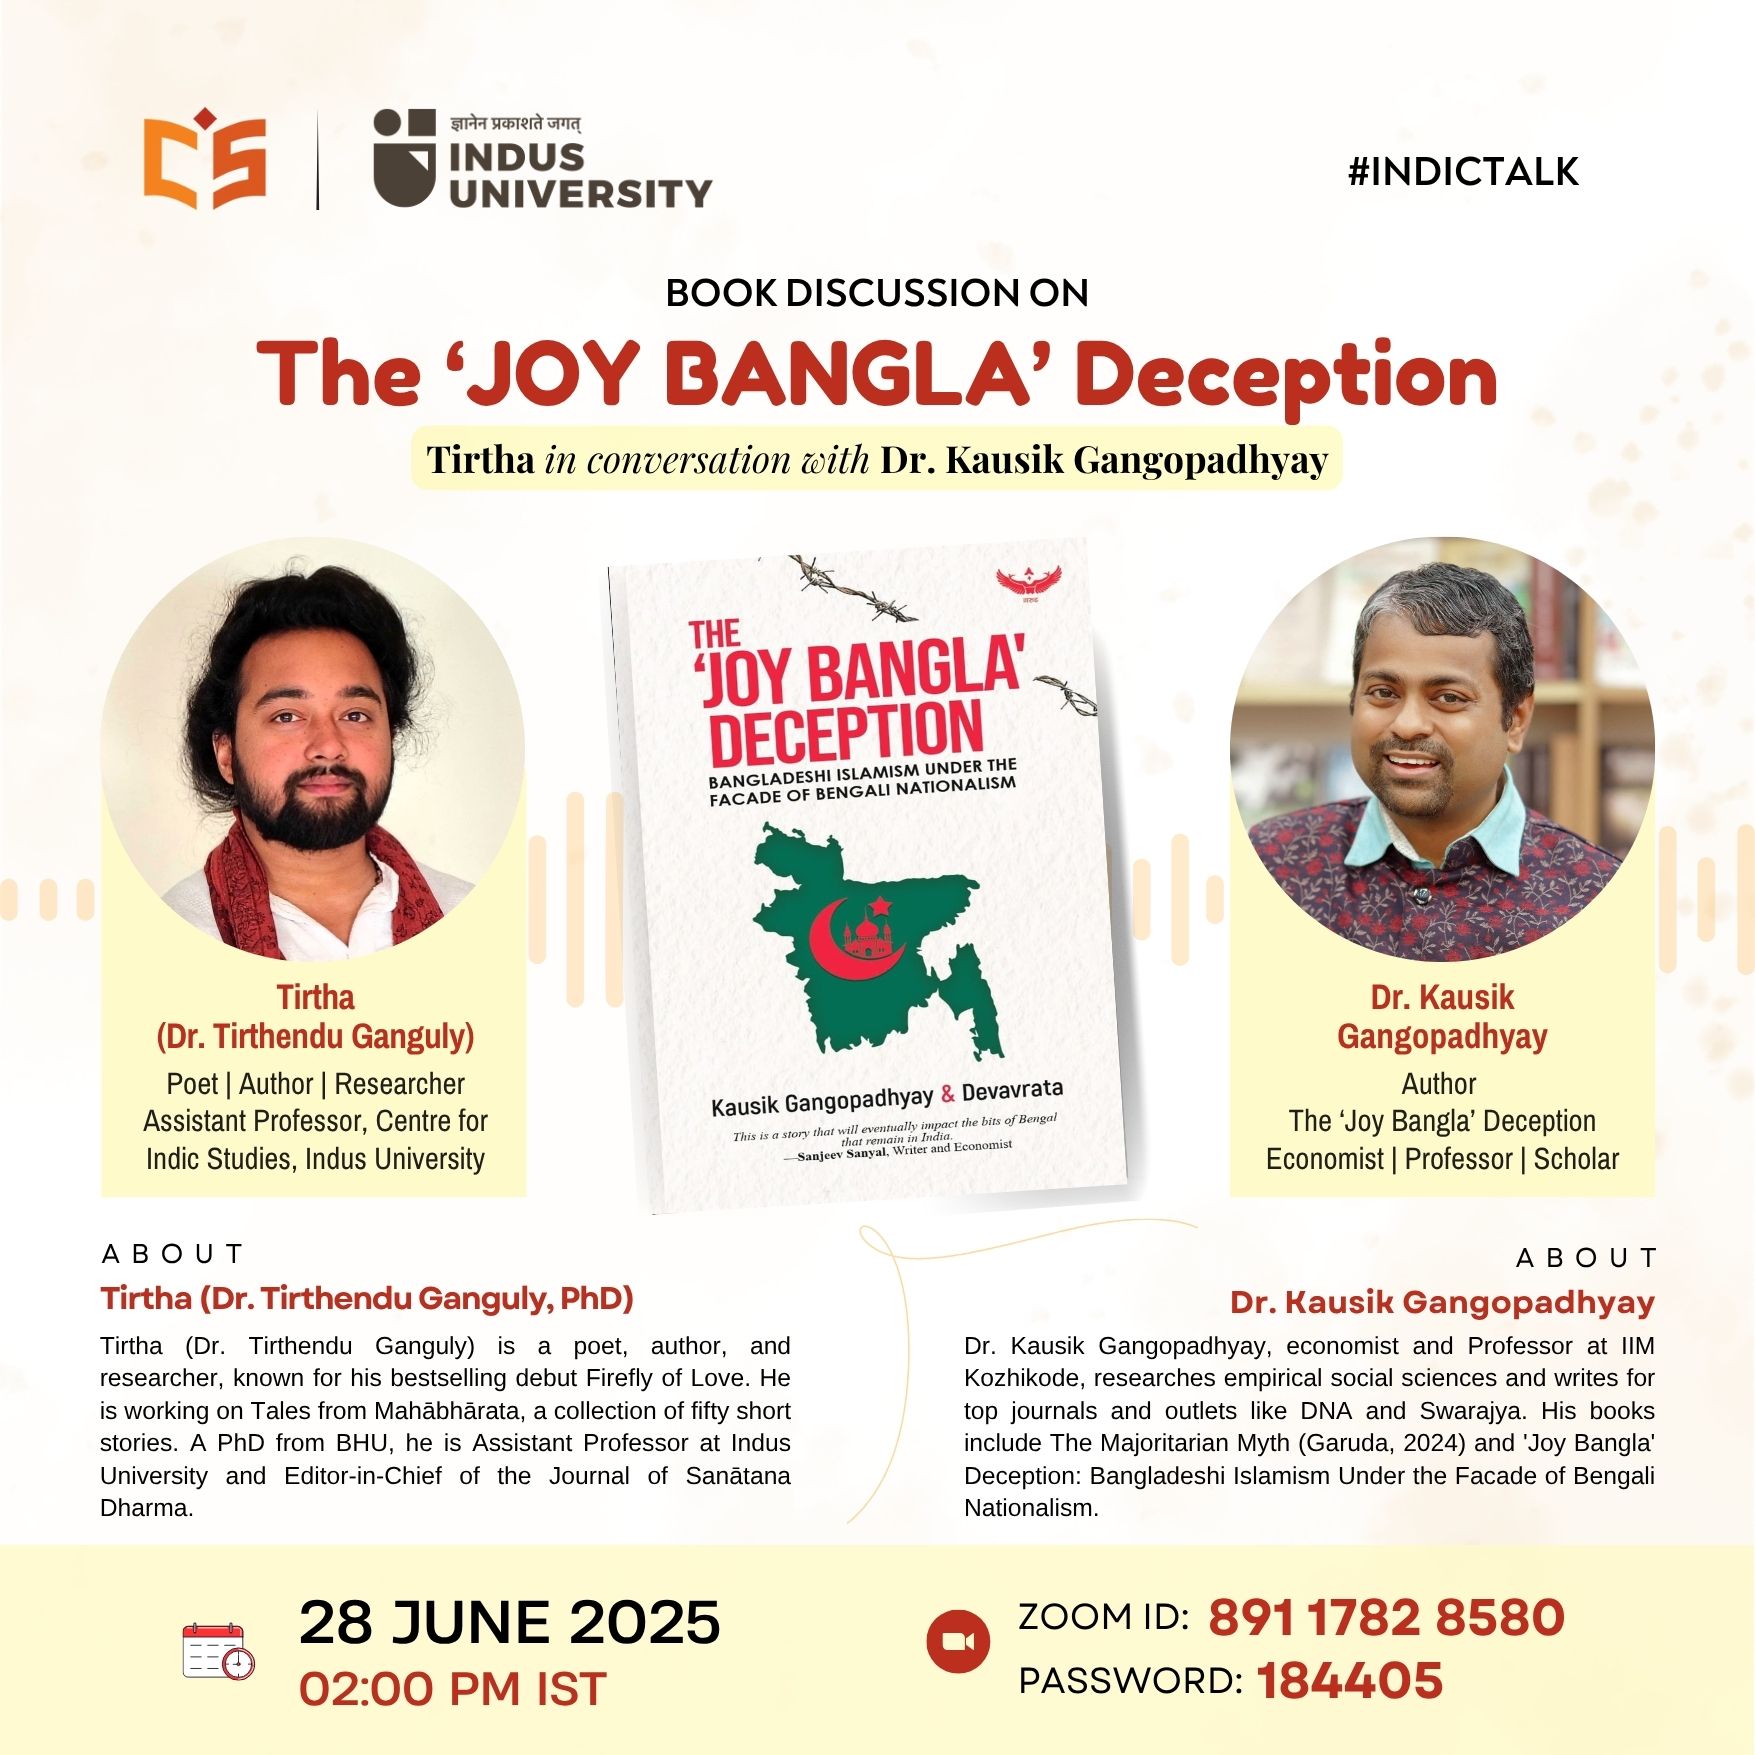
Indic Talks broadcasts high quality lectures and talks pertaining to various aspects of Indian civilization...
Welcome to our e-magazine portal! In an attempt to keep you engaged and stay regular, the Indic Varta seeks to expand your knowledge and remain updated...


.png)